Podcasting can be a great way to get in touch with your audience in a different way. Whether you’re an independent teacher offering weekly study tips or an indie publisher sharing tools and strategies, podcasts make it easier to communicate your message in a direct and very personal manner.
There are many different programs and platforms out there to get a podcast off the ground. But no matter what tool you use, in the end a podcast is nothing more than an RSS-feed with audio attachments. In short, a list of mp3s which users can subscribe to, so they’ll always get the latest episode.
If we put aside all the initial setup of configuring a feed, adding artwork, making it iTunes friendly, etc. at the heart of any podcast are audio files. The quality of these files, and the ease with which you can publish more for your subscribers, is what makes or breaks a good podcast.
Automate your Audio Production Process
Imagine there was a simple tool with which you could automatically clean your recorded audio files from noise and rumbles, normalize volume between different voices, add an intro and outro and send the finished file to Soundcloud or your own server.
Enter Auphonic, the free “post production web service for broadcasters, podcasts, radio shows, audio books, lecture recordings, screencasts and more.”
Auphonic can literally save you hours of meticulous manual audio editing, metadata configuration and distribution to different places across the web.
How To Use Auphonic
After having registered for free at auphonic.com you’ll see a big red button that says “New Production”. Click it and you’ll be transported to the main form.
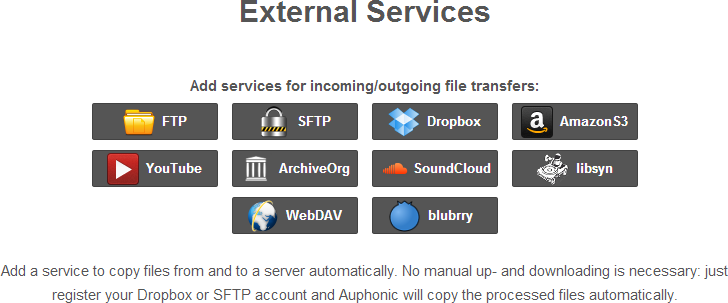
You can upload your audio (or even video file) either from your computer or from one of your external services, such as SoundCloud, Dropbox, blubrry, libsyn, FTP, YouTube and more. In order to use these services you need to first register them by going to auphonic.com/engine/services. Note: These services can act both as sources and as destination for your files.
In the next step you can add an intro or outro to your audio file which is super convenient for podcasting purposes. Basically, you just select a source for your intro or outro file and Auphonic will automatically stitch these files to the beginning and end of your recording.
The next screen covers Metadata (both basic and extended). In case you’re wondering what you need it for – Metadata is what makes your mp3 player show an image during playback (such as an album cover or podcast artwork) and other information.
In the next step, you can tell Auphonic in what format and bitrate you’d like to have your finished audio file, and what to call it (output filename).
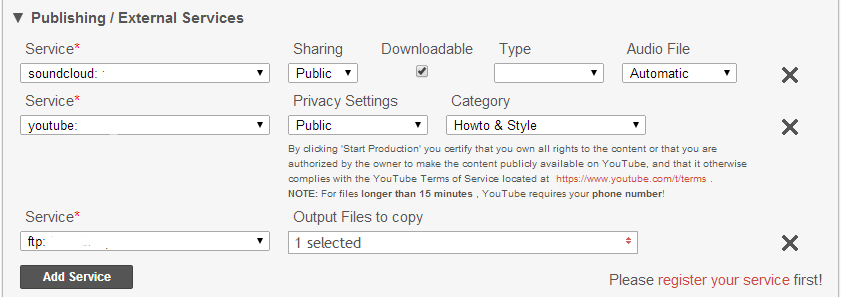
After that you can select to which destinations you want to deploy your finished production. In the example below, I’ve selected FTP, SoundCloud and Youtube. And yes, once you start the production Auphonic will upload your production to all selected services simultaneously and automatically.
Last but not least, you can tell Auphonic how to optimize your recording. Not only are there are a number of different audio algorithms to choose from, they are also all very excellent and sometimes much better than standard desktop audio editing software. If you’re not sure what each of these do, take a look at the Auphonic Audio Examples.
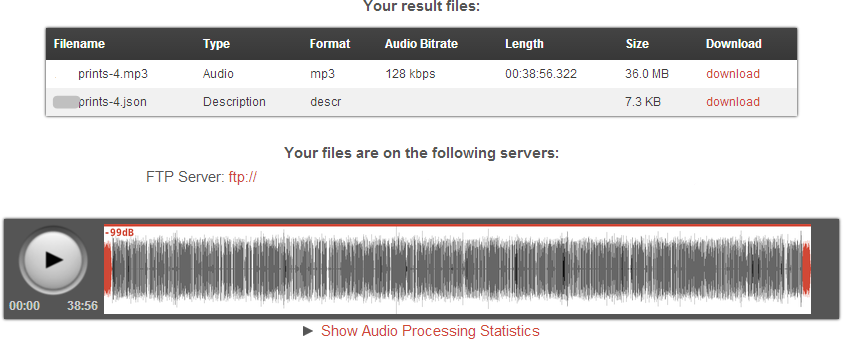
Once all is set, click on “Start Production”. First the file will be uploaded. In the next step, Auphonic’s algorithms will do their magic and then you’ll see the results page:
Set & Forget Post-Processing
Of course, you don’t need to do all of the above every time you upload a new file or episode. Instead you can simply create a Preset so that Auphonic will automatically fill in the information.
If you haven’t yet setup your own podcast or aren’t happy with existing platforms, there’s a great free Podcasting plugin for WordPress called Podlove Podcast Publisher which integrates beautifully with Auphonic and makes publishing new episodes to your feed so much easier and more fun.
–
photo: Creative Commons by brainblogger


